What is SSO
Single sign on, otherwise known as SSO, is a technique that allows an end user to sign in to a central authority once, and access an entire suite of applications without having to authenticate into each individual service. Before understanding the intricacies of SSO, there are a couple of useful terms to define- Identity Provider
- The identity provider, or IDP, is the entity that handles authentication for users. Examples of popular IDPs are Okta, Auth0, and Azure
- Service Provider
- The service provider, or SP, is the application that the user is attempting to access after authentication. Examples of popular SPs are Github, Twitter, and Facebook
IDP Initiated SSO
IDP initiated SSO is one of the two main SSO flows. IDP initiated SSO entails the user initially signing into their identity provider. After authentication, they are able to click into individual service providers without having to enter credentials for each
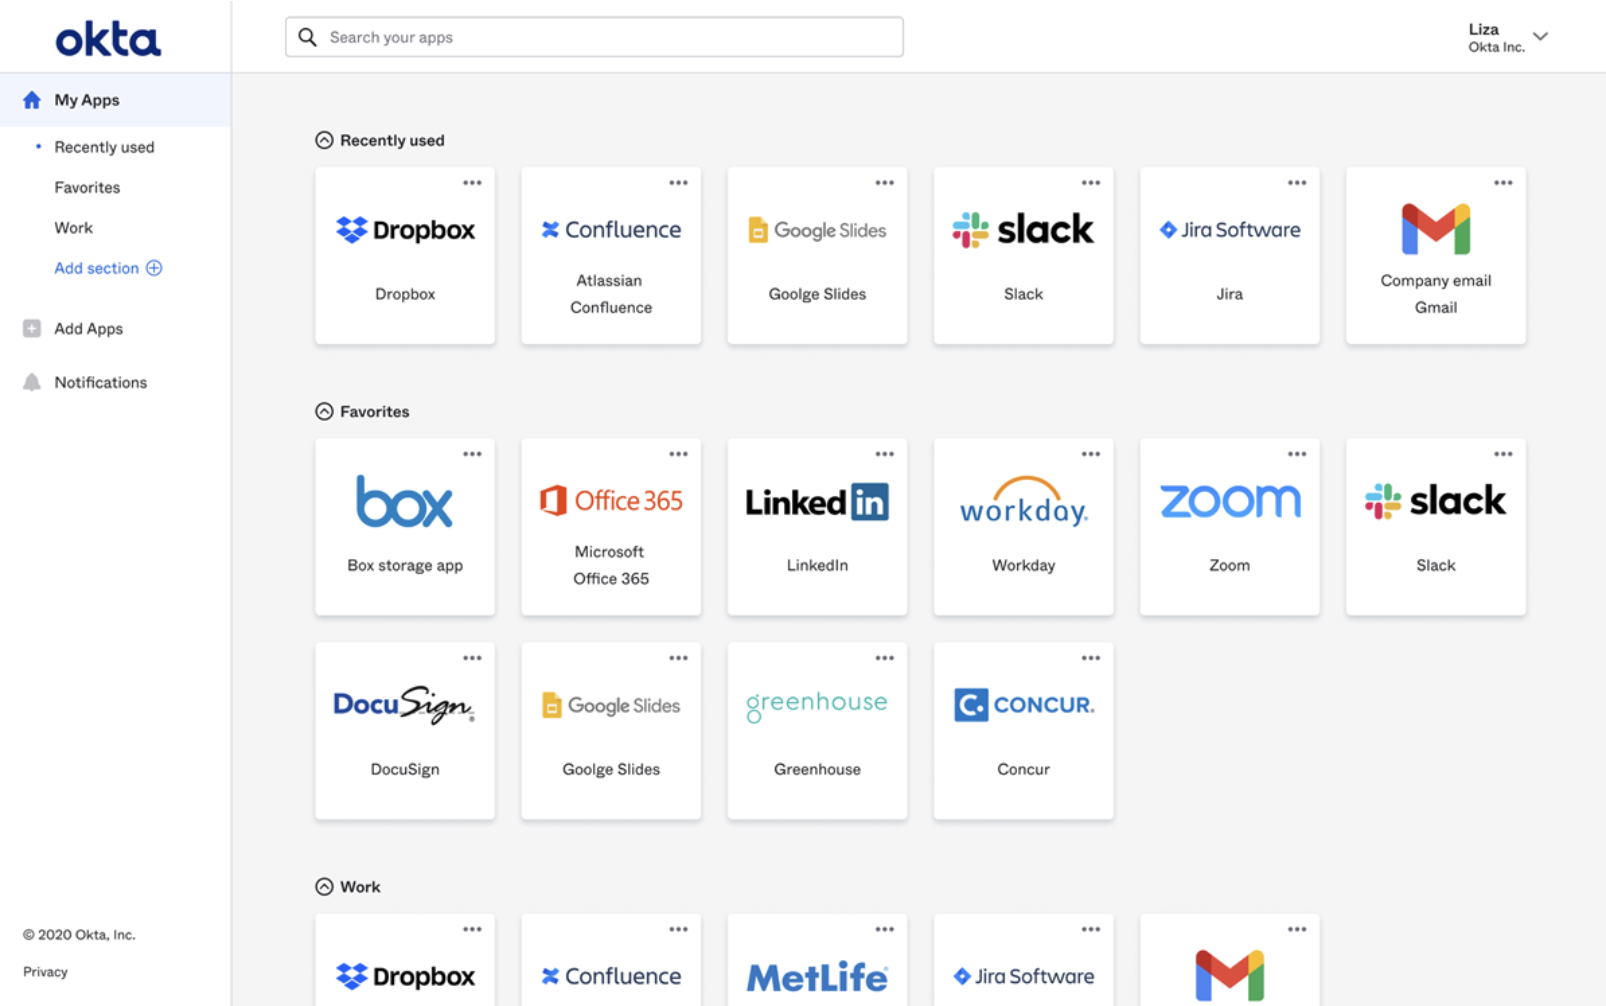
Example login screen after authenticating via Okta
High Level Walk Through
IDP initiated SSO basics-
User navigates to their IDP to login
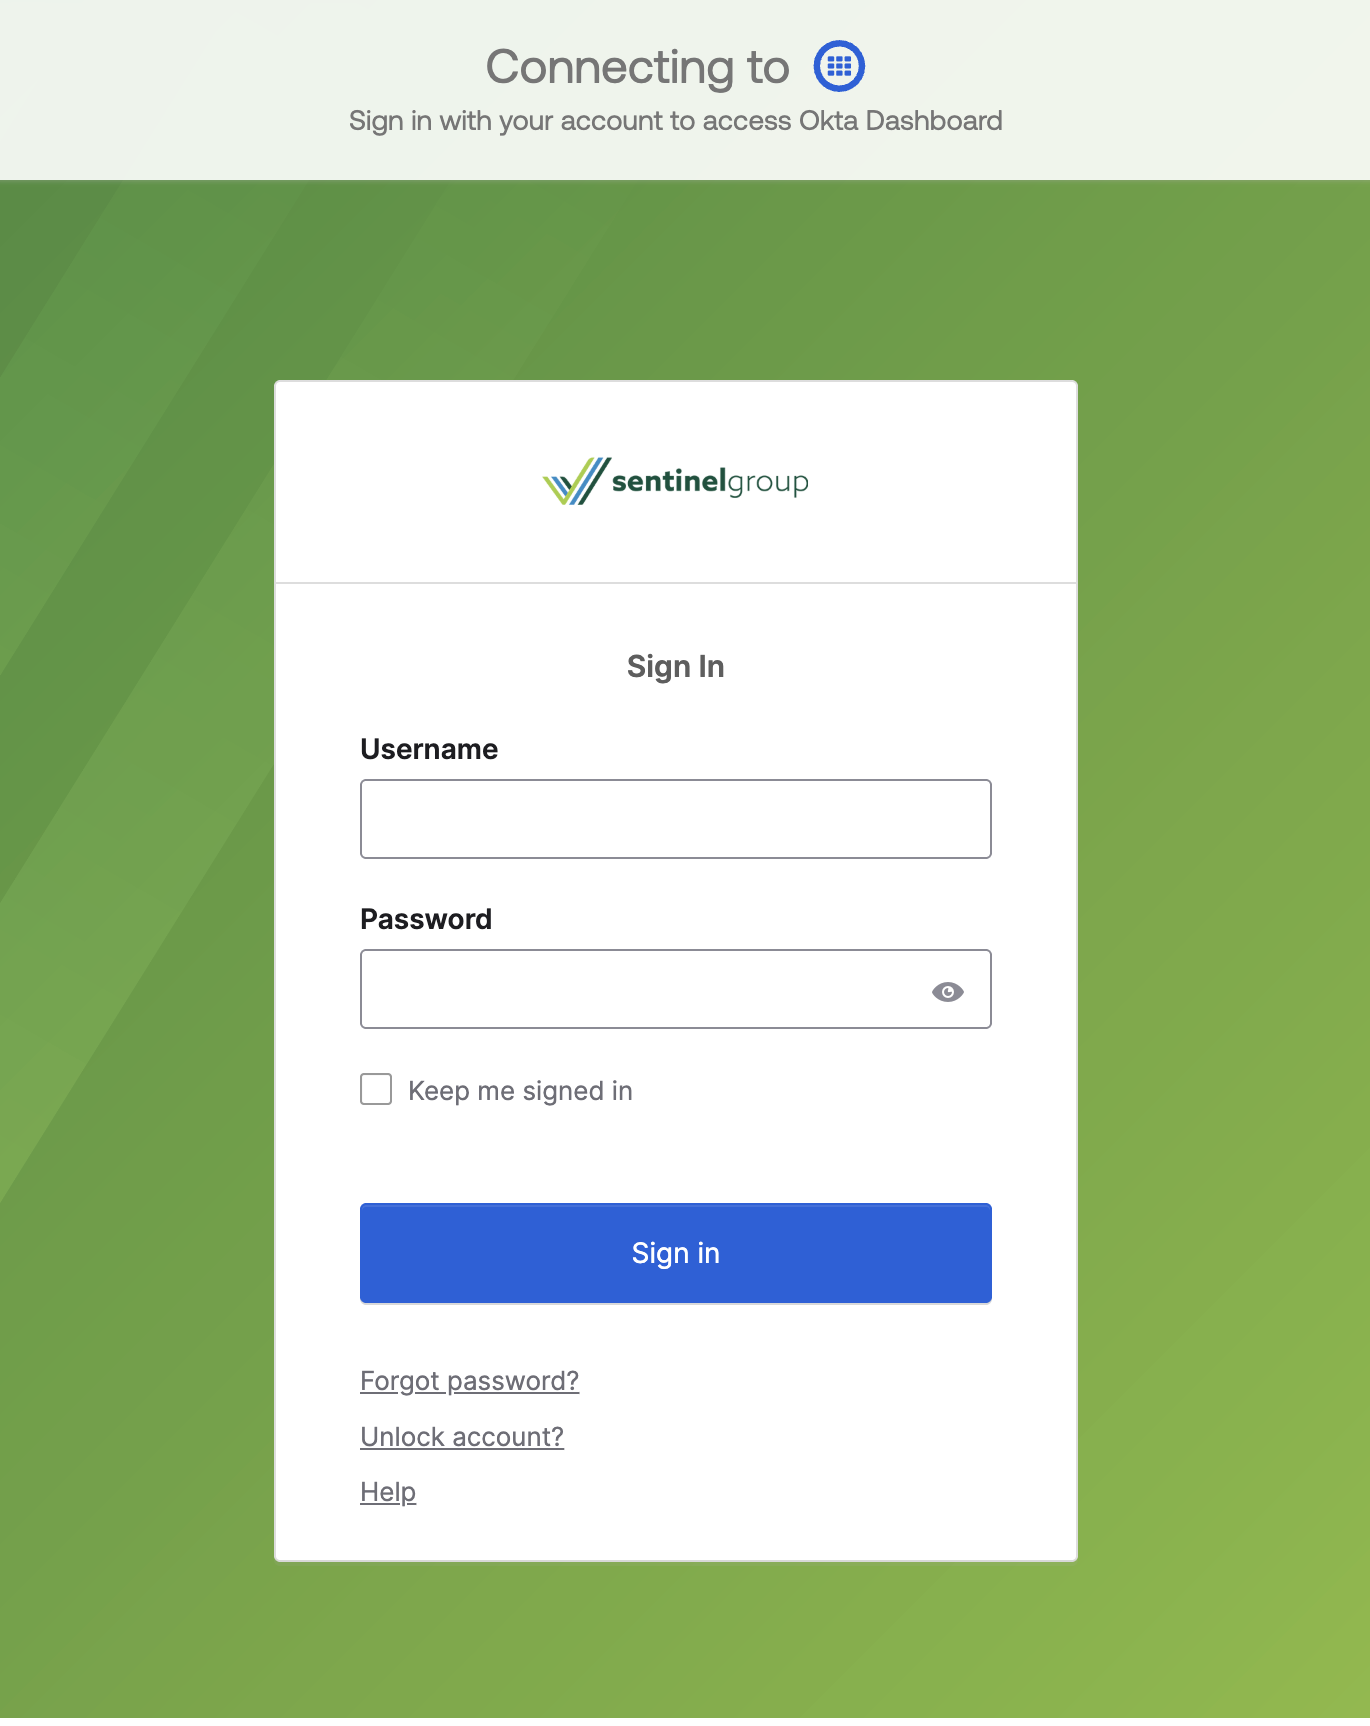
Okta login screen
- User enters authentication information and signs in, after which the IDP creates a session and gathers necessary persisted information
- The IDP utilizes the persisted user information to create a message to send to the service provider
- When the user clicks the element to navigate into a service provider, the message the IDP created that contains the user information is sent to the service provider
- The service providers validates the information is from the IDP (amongst other things), and creates a user session
SP Initiated SSO
The other main SSO flow is SP initiated SSO.High Level Walk Through
- User navigates to their SP of choice, for example LinkedIn
- The user clicks a button, such as "Sign in with Google", after which the service provider sends an authentication request to the IDP
- The IDP will receive the request, and redirect the user to the IDP's login screen
- The user signs in, and the IDP once again creates the message containing user information to send to the SP
- The IDP automatically sends this user information to the SP, and if accepted the user is automatically redirected to the SP's website
- The service provider verifies in the information is from the IDP (amongst other things), and then creates the user session
What is XML
XML, also known as extensible markup language, is the format in which messages are sent between the IDP and the SP. It is important to establish a "language" to communicate with, so that messages can be parsed and processed easilyWhat is SAML
SAML, or security assertion markup language, is an open standard which utilizes XML. It is a defined schema which specifies how to write XML to transfer authentication information between service providers and identity providersSAML Request
A SAML request is sent from the SP to the IDP during SP initiated SSO. It is a request for the IDP to handle user authentication. Below is an example of a SAML request<samlp:AuthnRequest xmlns:samlp="urn:oasis:names:tc:SAML:2.0:protocol" xmlns:saml="urn:oasis:names:tc:SAML:2.0:assertion" ForceAuthn="false" ID="ac3757ab77f8f87c695cbc073c3720b4e4348e518" IssueInstant="2025-11-23T13:31:51Z" Destination="http://localhost:3000/saml/auth" AssertionConsumerServiceURL="https://sptest.iamshowcase.com/acs" ProtocolBinding="urn:oasis:names:tc:SAML:2.0:bindings:HTTP-POST" Version="2.0"> <saml:Issuer>IAMShowcase</saml:Issuer> </samlp:AuthnRequest>Furthermore, here is a breakdown of some of the important aspects of this request
- AuthnRequest
- The authentication request. Acts as the wrapper for the request from the SP to the IDP. It has a couple of key attributes
- ID: The specific AuthnRequest ID. Unique for each request. This is used in the SAML response to indicate which request the response is tied to
- Issue Instant: The time when the request was created
- Destination: Where the request is being sent to
- Protocol Binding: The means by which the IDP should send the SAML response
Assertion Consumer Service URL: Where the IDP should send the SAML response to - Issuer
- The creator of the AuthnRequest
SAML Response
A SAML response is a crucial part of both the IDP initiated and SP initiated SSO flows. This is the message containing proof of the user authentication, along with user information. It is sent from the IDP to the SP. Below is an example of a rudimentary SAML response
<samlp:Response
    xmlns:samlp="urn:oasis:names:tc:SAML:2.0:protocol"
    xmlns:saml="urn:oasis:names:tc:SAML:2.0:assertion"
    ID="_0e266799-35e6-4131-85b3-d049d6097536"
    Version="2.0"
    IssueInstant="2025-11-22T19:06:04.594Z"
    Destination="https://sptest.iamshowcase.com/acs"
    InResponseTo="">
  <saml:Issuer>https://test-saml.com</saml:Issuer>
  <samlp:Status>
    <samlp:StatusCode Value="urn:oasis:names:tc:SAML:2.0:status:Success" />
  </samlp:Status>
  <saml:Assertion
      xmlns:xsi="http://www.w3.org/2001/XMLSchema-instance"
      xmlns:xs="http://www.w3.org/2001/XMLSchema"
      xmlns:saml="urn:oasis:names:tc:SAML:2.0:assertion"
      ID="_8dea871c-d9a2-4928-8219-2bad6cc9a9b0"
      Version="2.0"
      IssueInstant="2025-11-22T19:06:04.594Z">
    <saml:Issuer>https://test-saml.com</saml:Issuer>
    <ds:Signature
        xmlns:ds="http://www.w3.org/2000/09/xmldsig#">
      <ds:SignedInfo>
        <ds:CanonicalizationMethod Algorithm="http://www.w3.org/2001/10/xml-exc-c14n#" />
        <ds:SignatureMethod Algorithm="http://www.w3.org/2001/04/xmldsig-more#rsa-sha256" />
        <ds:Reference URI="#_8dea871c-d9a2-4928-8219-2bad6cc9a9b0">
          <ds:Transforms>
            <ds:Transform Algorithm="http://www.w3.org/2000/09/xmldsig#enveloped-signature" />
            <ds:Transform Algorithm="http://www.w3.org/2001/10/xml-exc-c14n#" />
          </ds:Transforms>
          <ds:DigestMethod Algorithm="http://www.w3.org/2001/04/xmlenc#sha256" />
          <ds:DigestValue>q8x9brh1e7pMcTKLPMGa5RyGPgyy7EGiFD4eEwoRI0Q=</ds:DigestValue>
        </ds:Reference>
      </ds:SignedInfo>
      <ds:SignatureValue>WQW3+5vmnaOXPPPD5gz1gw0I8CU1tv0jRjHhG1l2oxPmyUgRBa8dGZjderuPg70oaMcakUgLN/dOfwKE6BKMnanw42PqyZO/kIHtwepniiXMJQ+BT4Lc1MX1TLOzpqomFtoD//0jRKW0R0uvF5yOOEKMwDoh9Zkjq0WQfUlxlwrt6oTlIfNJruEtiH0pApfp2EqJ4XrKjEr39NQh2UDJfJwQOx1NMNRnyI6IjfzRYJHY/14lMjUWfe1mG3NDU1LhsUYfe4Myzg0T5ahiYmZqjCXYMEsaUJJvKlC17M23ovSa+YVP8zl0WUvMD+fpy3lewfayj6ZUl6JkuVUYQ+0MsQ==</ds:SignatureValue>
      <ds:KeyInfo>
        <ds:X509Data>
          <ds:X509Certificate>MIIDQTCCAimgAwIBAgIUdYK4XoQpN1hFs9yHDGAU/M2cCEgwDQYJKoZIhvcNAQELBQAwSTELMAkGA1UEBhMCVVMxCzAJBgNVBAgMAkNBMQswCQYDVQQHDAJTRjEMMAoGA1UECgwDT3JnMRIwEAYDVQQDDAlsb2NhbGhvc3QwHhcNMjUxMTIyMTY0NDQyWhcNMjYxMTIyMTY0NDQyWjBJMQswCQYDVQQGEwJVUzELMAkGA1UECAwCQ0ExCzAJBgNVBAcMAlNGMQwwCgYDVQQKDANPcmcxEjAQBgNVBAMMCWxvY2FsaG9zdDCCASIwDQYJKoZIhvcNAQEBBQADggEPADCCAQoCggEBAKc+bRQeN+KXlE3IB5U+VJ0rU7Wv+EC9L44IbgODEWPqq6aJ0lPUwLrM7embvqFHKP/0lwbINyrwnOkVtwpmG0D43qtOACcmM6XUU9cB8j1TjEMgddVURI+TaMvWIKfV2rOzcB6x4oEOQ5cKVFMLJtTCcZwd8TKGnAbVw0jbV3cK7HW9bLtyQApZB2s41f1fyDvnOmrOShuDfLvnHaHjXD55Gjd4RpddxAMqKaL5bUIR2KPJkgb7As07ELIQmai6in0Aco5jV5HJsrJinMdIT6BOisP4DM3LjO7v5UsO8ZLqpQzg03l6fOIsiOdluAokq8N48nh/Ms2wBSs04+BKY68CAwEAAaMhMB8wHQYDVR0OBBYEFBT0hqLfFDC/87ywfCPKuw9M1xylMA0GCSqGSIb3DQEBCwUAA4IBAQA2uDbyXTqaVYrDdb0jcAmEQEMMP2YWCJhPSkgn9URqdlByG6UtVsA+ZbDUFgaQpPK9oM5yLJFeyQGhFs9hoodoqT3mhp3q/mXfEk95e7uPUV+v9HdBO1jB1PUX1j104QVmhbEGQqBMDsIPclEcXmUn3EOXSNZhQGXV/D8GRAjHvpO0bl/s9CFxvwBwupKXT5e4c61scjD17dmeVMTTfh653JGZAyR32oTFkzrZcDAO9soBUxo6dsK/mHiir5i/viVI3uS5izNHgp4aHN4awnEWm9hAMxaX16MYcXFyv4n2Prc2EM+DaNbD5Jh5GMo+VDmK8fkqaBsro+SO/o1/eFgA</ds:X509Certificate>
        </ds:X509Data>
      </ds:KeyInfo>
    </ds:Signature>
    <saml:Subject>
      <saml:NameID Format="urn:oasis:names:tc:SAML:1.1:nameid-format:unspecified">jack.gitter@gmail.com</saml:NameID>
      <saml:SubjectConfirmation Method="urn:oasis:names:tc:SAML:2.0:cm:bearer">
        <saml:SubjectConfirmationData NotOnOrAfter="2025-11-22T19:11:04.594Z"
                                      Recipient="https://sptest.iamshowcase.com/acs"
                                      InResponseTo="" />
      </saml:SubjectConfirmation>
    </saml:Subject>
    <saml:Conditions NotBefore="2025-11-22T19:06:04.594Z"
                     NotOnOrAfter="2025-11-22T19:11:04.594Z">
      <saml:AudienceRestriction>
        <saml:Audience>IAMShowcase</saml:Audience>
      </saml:AudienceRestriction>
    </saml:Conditions>
  </saml:Assertion>
</samlp:Response>
Below is listed some of the most important fields, along with their purpose
- Response
- The outer wrapper of the information sent from IDP to SP. It has a couple of important attributes
- ID : The id for this response. Unique for each response
- Issue Instant : When the response was created
- Destination : Where the response is being sent to, in URL format
- In Response To : The ID of the SAML request that corresponds to the response. In this example it is blank, as this was an IDP initiated SSO payload
- Issuer
- The IDP's name
- Status
- Conveys whether the sign in was successful or not
- Assertion
- The main element encompassing most of the user and authentication information. The following are the most important inclusions that reside within the assertion
- Issuer
- The IDP's name
- Signature
- Digital signature of the assertion contents
- Subject
- Defines who the SAML assertion is about. Contains a NameID field which represents the authenticated user. There are multiple different formats for NameID, and they can be persistent or transient. The format depends the support of the SP and IDP
- Conditions
- Often defines a NotBefore and NotOnOrAfter fields, determining what time period the assertion is valid for
- Audience
- Contains the URI that identifies the intended recipient of the SAML Response
- Attribute Statement
- Contains claims about the user, typically additional information that the IDP would store such as email, name, etc
- AuthnStatement
- Describes what method the user authenticated with, such as a password. Also provides timestamp information similar to conditions
Bindings
In order to send SAML requests and responses between SPs and IDPs, there must be agreed upon conventions and protocols. The protocol used for SAML is HTTP, and there are two main, distinct ways that these request can be sent. These are called bindings. Both the IDP and SP can define their own preferred bindingsPost binding
When the post binding is used, communication between IDP and SP is done through an HTTP POST request. It is most commonly supported by service providers, rather than IDPs. This request is expected to be performed via HTTP form control, and has two important fields.- SAMLResponse
- the SAML response, base64 encoded
- RelayState
- RelayState: During SP initiated SSO, the IDP must echo back what the SP sent in the SAML Request. In an IDP initiated SSO, the IDP can include the URL of a specific page hosted by the service provider. After the service provider parses and validates the SAML response, the user would be redirected to that URL. This is not specifically stated in the SAML specification, but is often utilized in modern SAML flows.
Redirect binding
When the redirect binding is used, communication between IDP and SP is done via HTTP GET, and the SAMLResponse and RelayState fields are send as query parameters. The Redirect binding is the most commonly used format for SAML Requests. By default, the SAML is compressed via the deflate algorithm, the resulting encoded binary is encoded via base64, and finally urlencoded before sending.IAmShowcase website
For the coming examples, the code implementation is acting as the IDP. In order to fulfill the other half of the SAML flow, a service provider is required. For this, IAmShowcase can be used, which is able to act as a mock SP and supports both IDP initiated and SP initiated SSO.Metadata
Before jumping into the code, it's first important to understand IDP and SP metadata. These are files in written in XML which describe the specifics of what both the IDP and SP expect during the SSO flow. Things such as the SP's assertion consumer service endpoint, the SP's encryption key, the IDPs login request URL, etc.
Downloading SP metadata
For most service providers, metadata should be downloadable. Since IAmShowcase is a demo site specifically made to test SAML integration, the download is pretty straight forward
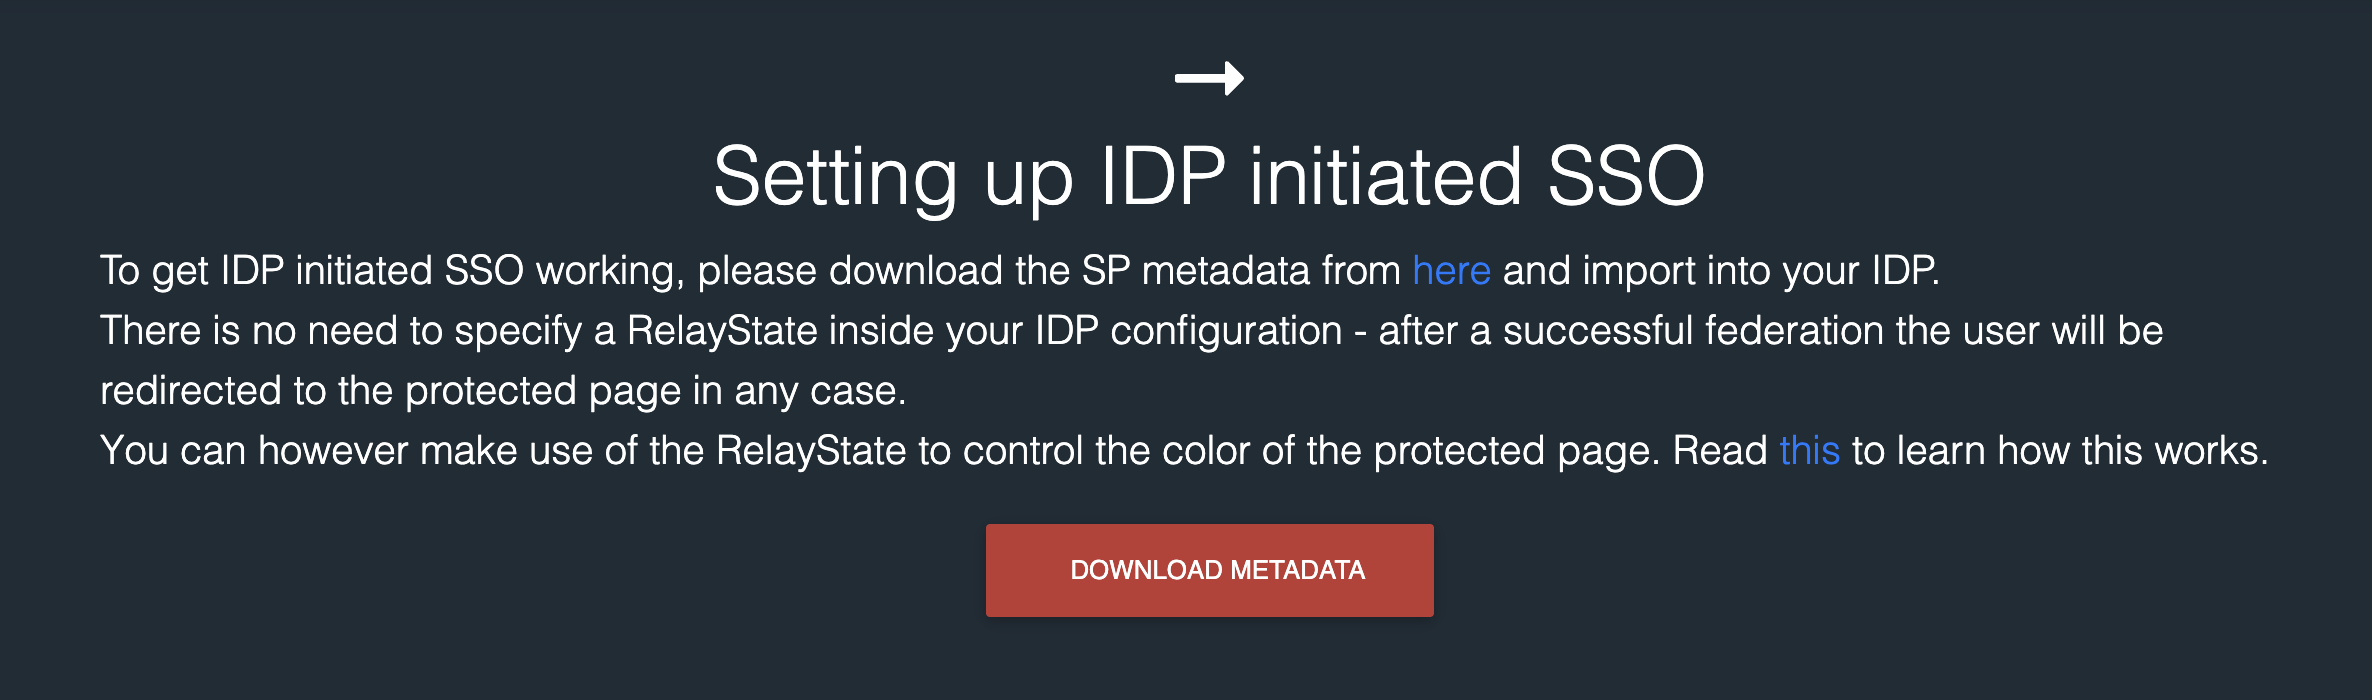
IAmShowcase metadata download
<md:EntityDescriptor xmlns:md="urn:oasis:names:tc:SAML:2.0:metadata" xmlns:ds="http://www.w3.org/2000/09/xmldsig#" entityID="IAMShowcase" validUntil="2025-12-09T09:13:31.006Z">
	<md:SPSSODescriptor AuthnRequestsSigned="false" WantAssertionsSigned="true" protocolSupportEnumeration="urn:oasis:names:tc:SAML:2.0:protocol">
		<md:NameIDFormat>urn:oasis:names:tc:SAML:1.1:nameid-format:unspecified</md:NameIDFormat>
		<md:NameIDFormat>urn:oasis:names:tc:SAML:1.1:nameid-format:emailAddress</md:NameIDFormat>
		<md:AssertionConsumerService Binding="urn:oasis:names:tc:SAML:2.0:bindings:HTTP-POST" Location="https://sptest.iamshowcase.com/acs" index="0" isDefault="true"/>
	</md:SPSSODescriptor>
</md:EntityDescriptor>
Creating IDP metadata
Because we are our own IDP in this example, we need to generate IDP metadata. In order to do so, first a key pair is required so that the public certificate can be embedded into the IDP metadata, and later the SAML response. The service provider will utilize this public key as a reference to look up internally stored keys, and verify the signature of the SAML response. In order to generate the pair, a simple bash script written with openSSL should suffice.
#!/bin/bash

KEY=$(openssl genrsa 2048 2>/dev/null)
echo "$KEY"
echo "$KEY" | openssl req -new -key /dev/stdin -subj "/C=US/ST=CA/L=SF/O=Org/CN=localhost" 2>/dev/null | \
openssl x509 -req -days 365 -signkey <(echo "$KEY") 2>/dev/null
To create the IDP metadata, a website such as samltool.com can be used. Entering information into the required fields will produce IDP metadata which looks something like the following
<?xml version="1.0"?>
<md:EntityDescriptor xmlns:md="urn:oasis:names:tc:SAML:2.0:metadata" validUntil="2025-11-24T19:31:58Z" cacheDuration="PT1764444718S" entityID="http://localhost:3000">
  <md:IDPSSODescriptor WantAuthnRequestsSigned="false" protocolSupportEnumeration="urn:oasis:names:tc:SAML:2.0:protocol">
    <md:KeyDescriptor use="signing">
      <ds:KeyInfo xmlns:ds="http://www.w3.org/2000/09/xmldsig#">
        <ds:X509Data>
          <ds:X509Certificate>MIIDQTCCAimgAwIBAgIUfKGITEBcwtKMKHPSumomAbLfS/kwDQYJKoZIhvcNAQELBQAwSTELMAkGA1UEBhMCVVMxCzAJBgNVBAgMAkNBMQswCQYDVQQHDAJTRjEMMAoGA1UECgwDT3JnMRIwEAYDVQQDDAlsb2NhbGhvc3QwHhcNMjUxMTIyMTkzMTI2WhcNMjYxMTIyMTkzMTI2WjBJMQswCQYDVQQGEwJVUzELMAkGA1UECAwCQ0ExCzAJBgNVBAcMAlNGMQwwCgYDVQQKDANPcmcxEjAQBgNVBAMMCWxvY2FsaG9zdDCCASIwDQYJKoZIhvcNAQEBBQADggEPADCCAQoCggEBAJT02NwZbGyhS8iXxtTeEiwnCaffwHL6e5M8opMRiqDsM6roFeGb96bcBVAmuTv5GpVkcBN1jN/o8nkcqfMXq678H3aT2N+LqbHsWFhU969j0j/57Im267H6Z7+eRPcEnAL8ETTT6TEUY/XFYsb41kjrH9XXL0s8pLdzR0XTFLLEXc0qHU0uFVns5JftJS7o+nQ8uOO1QrJ8Xeh10qDio00D8rqMF3DTYrLJo4UkEYoz3oa04MLWOgiNbEqsW5X11JaJnJqeQD078jruT71IO2gAOd7KkOpuZP9Swse00EXTHTx7WMYodw7l6emjU1GOJXuSbHkA1ZCEAMLjje9TFEUCAwEAAaMhMB8wHQYDVR0OBBYEFFV7jw3PtIjLQZjsu7YRXPIGmsYcMA0GCSqGSIb3DQEBCwUAA4IBAQAQZg84siAYgG4blFBmyDx+Ksy1tpemxDfGRDo3zN3mvJDsQVZU5OQIpMzp8tKoVGK+1MOEi+3sO9gnXA7moDwfqsyE2GQOurLbMhO6XJluytX0La783PJrOMf6nL6oV4vEnjqIYDa31XvYy40/XY27PRkb9HWfm3QmbxwCy1XBdu6vhAWrCON+gCWh/DUjAa21MwOwNsL1H4FAdnSS8f49E6sH15WNi2lMr8uMU9wo6vkbY5REUOE2JX/xGKrQiEHBxEuiXoiyWaS8fFuO2vJlcXjs1TxBT1ZV/dCr8TC0zKv9i4GggWijtIXEb4VcsVO9IXGF3POWo/HVex7tSQQ3</ds:X509Certificate>
        </ds:X509Data>
      </ds:KeyInfo>
    </md:KeyDescriptor>
    <md:KeyDescriptor use="encryption">
      <ds:KeyInfo xmlns:ds="http://www.w3.org/2000/09/xmldsig#">
        <ds:X509Data>
          <ds:X509Certificate>MIIDQTCCAimgAwIBAgIUfKGITEBcwtKMKHPSumomAbLfS/kwDQYJKoZIhvcNAQELBQAwSTELMAkGA1UEBhMCVVMxCzAJBgNVBAgMAkNBMQswCQYDVQQHDAJTRjEMMAoGA1UECgwDT3JnMRIwEAYDVQQDDAlsb2NhbGhvc3QwHhcNMjUxMTIyMTkzMTI2WhcNMjYxMTIyMTkzMTI2WjBJMQswCQYDVQQGEwJVUzELMAkGA1UECAwCQ0ExCzAJBgNVBAcMAlNGMQwwCgYDVQQKDANPcmcxEjAQBgNVBAMMCWxvY2FsaG9zdDCCASIwDQYJKoZIhvcNAQEBBQADggEPADCCAQoCggEBAJT02NwZbGyhS8iXxtTeEiwnCaffwHL6e5M8opMRiqDsM6roFeGb96bcBVAmuTv5GpVkcBN1jN/o8nkcqfMXq678H3aT2N+LqbHsWFhU969j0j/57Im267H6Z7+eRPcEnAL8ETTT6TEUY/XFYsb41kjrH9XXL0s8pLdzR0XTFLLEXc0qHU0uFVns5JftJS7o+nQ8uOO1QrJ8Xeh10qDio00D8rqMF3DTYrLJo4UkEYoz3oa04MLWOgiNbEqsW5X11JaJnJqeQD078jruT71IO2gAOd7KkOpuZP9Swse00EXTHTx7WMYodw7l6emjU1GOJXuSbHkA1ZCEAMLjje9TFEUCAwEAAaMhMB8wHQYDVR0OBBYEFFV7jw3PtIjLQZjsu7YRXPIGmsYcMA0GCSqGSIb3DQEBCwUAA4IBAQAQZg84siAYgG4blFBmyDx+Ksy1tpemxDfGRDo3zN3mvJDsQVZU5OQIpMzp8tKoVGK+1MOEi+3sO9gnXA7moDwfqsyE2GQOurLbMhO6XJluytX0La783PJrOMf6nL6oV4vEnjqIYDa31XvYy40/XY27PRkb9HWfm3QmbxwCy1XBdu6vhAWrCON+gCWh/DUjAa21MwOwNsL1H4FAdnSS8f49E6sH15WNi2lMr8uMU9wo6vkbY5REUOE2JX/xGKrQiEHBxEuiXoiyWaS8fFuO2vJlcXjs1TxBT1ZV/dCr8TC0zKv9i4GggWijtIXEb4VcsVO9IXGF3POWo/HVex7tSQQ3</ds:X509Certificate>
        </ds:X509Data>
      </ds:KeyInfo>
    </md:KeyDescriptor>
	<md:SingleLogoutService Binding="urn:oasis:names:tc:SAML:2.0:bindings:HTTP-Redirect" Location="http://localhost:3000/saml/auth/logout"/>
    <md:NameIDFormat>urn:oasis:names:tc:SAML:1.1:nameid-format:unspecified</md:NameIDFormat>
	<md:SingleSignOnService Binding="urn:oasis:names:tc:SAML:2.0:bindings:HTTP-Redirect" Location="http://localhost:3000/saml/auth"/>
  </md:IDPSSODescriptor>
</md:EntityDescriptor>
Mostly all the information entered into samltool's form is embedded here. From information about the login request endpoint for SP initiated SSO, the IDP's entityID,
the public certificate used to verify signature value on the SAML Response, and even a public key that can be used by service providers to encrypt SAML requests.
Implementation
Samlify
Samlify is a typescript library that can be used for a variety of SAML related tasks. For our use case, it provides functionality to create and parse both SAML requests and responses. The first thing that should be done when working with samlify is downloading the IDP and SP metadata, and creating the respective objects. We already took a look at these metadata files, so we can jump right into some examples. To demonstrate various use cases, I've create a super basic web server that has three functionalities. One is a basic IDP initiated flow with no special SAML response template. Another is an IDP initiated SSO with a custom SAML response template. The final one is a service provider initiated SSO flow.
IDP initiated SSO example
The first example is the most basic: Implementing an IDP initiated SSO with no custom SAML response template. The following code is used to create the SAML response itself
export const generateDefaultSAMLResponse = async (entityId: string) => {
  const idp = IdentityProvider({
	metadata: readFileSync(`${__dirname}/idp/metadata.xml`),
	privateKey: readFileSync(`${__dirname}/idp/private-key.pem`)
  })

  const sp = ServiceProvider({
	metadata: readFileSync(`${__dirname}/sp/${entityId}/metadata.xml`)
  })

  const request = {
    extract: {
      request: {
	id: undefined
      }
    }
  }

  const { context, entityEndpoint } = await idp.createLoginResponse(sp, request, Constants.wording.binding.post, {email: 'jack.a.gitter@gmail.com'})
  return { context, entityEndpoint, relayState: 'light-blue' }
}

app.get('/sso/iamshowcase/login', async (_req: Request, res: Response) => {
  const resp = await generateDefaultSAMLResponse(ENTITY_ID.I_AM_SHOWCASE)
  res.send(resp)
})
Two objects are created that represent the SP and the IDP which utilize the respective metadata files. Also necessary is the
IDP's private key used sign the SAML assertion, generated via the bash script shown earlier. The idp.createLoginResponse method is responsible
for generating the SAML response. It requires the service provider, a SAML request object, which binding to use, and a user object. Because this is
an IDP initiated SSO, I've created a mock SAML request object to pass in. The library will automatically extract relevant user information from the user object, and
put it within the NameID and attributes section. Finally, returned is a context variable (the SAML response),
the entityEndpoint which is the ACS URL, and the relayState. For IAMShowcase,
setting the relay state changes the color of the UI of the website, nothing more.
This method is used in a simple HTTP get request after hitting the "sso" button on the frontend
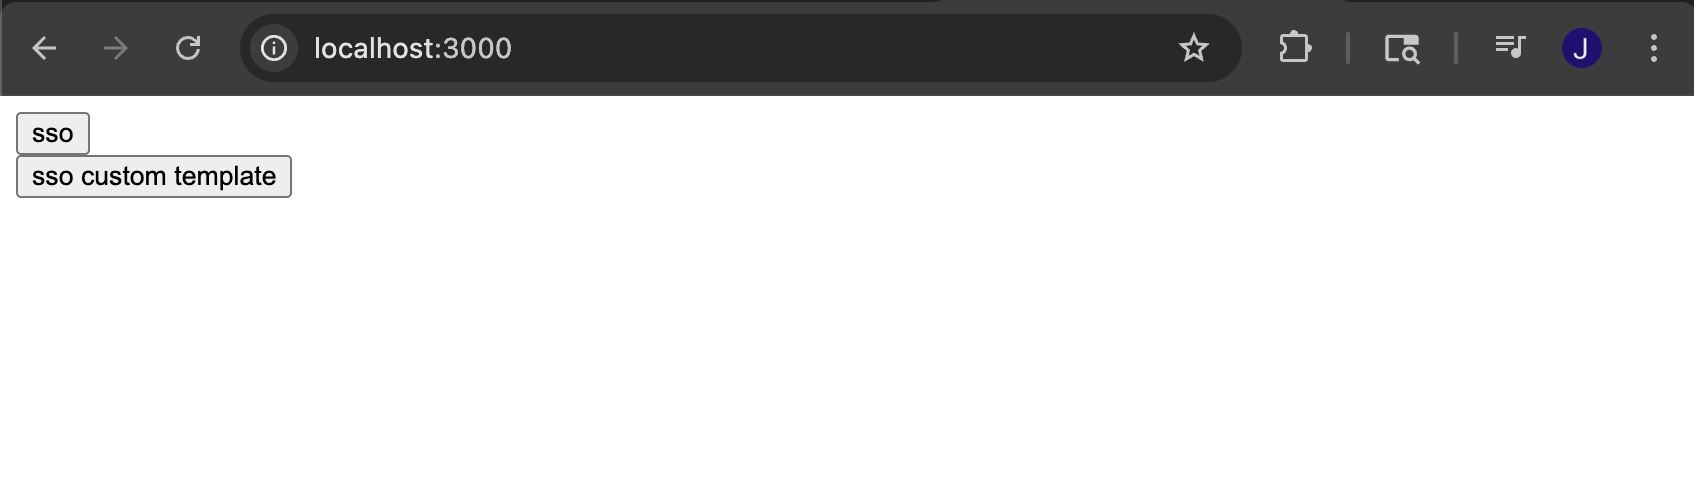
Extremely polished home screen
const response = await fetch('http://localhost:3000/sso/iamshowcase/login');
const data = await response.json();

const samlResponse = data.context;
const acsUrl = data.entityEndpoint;
const relayState = data.relayState

const form = document.getElementById('samlForm');
form.action = acsUrl;
document.getElementById('samlResponse').value = samlResponse;
document.getElementById('relayState').value = relayState;

form.submit();
Upon reaching the service provider, we are greeted with the information held within the SAML response. Because this response only contained the bare minimum
information, the information shown is limited. We can see that the UI is a light blue color, as that is what we specified in our relay state
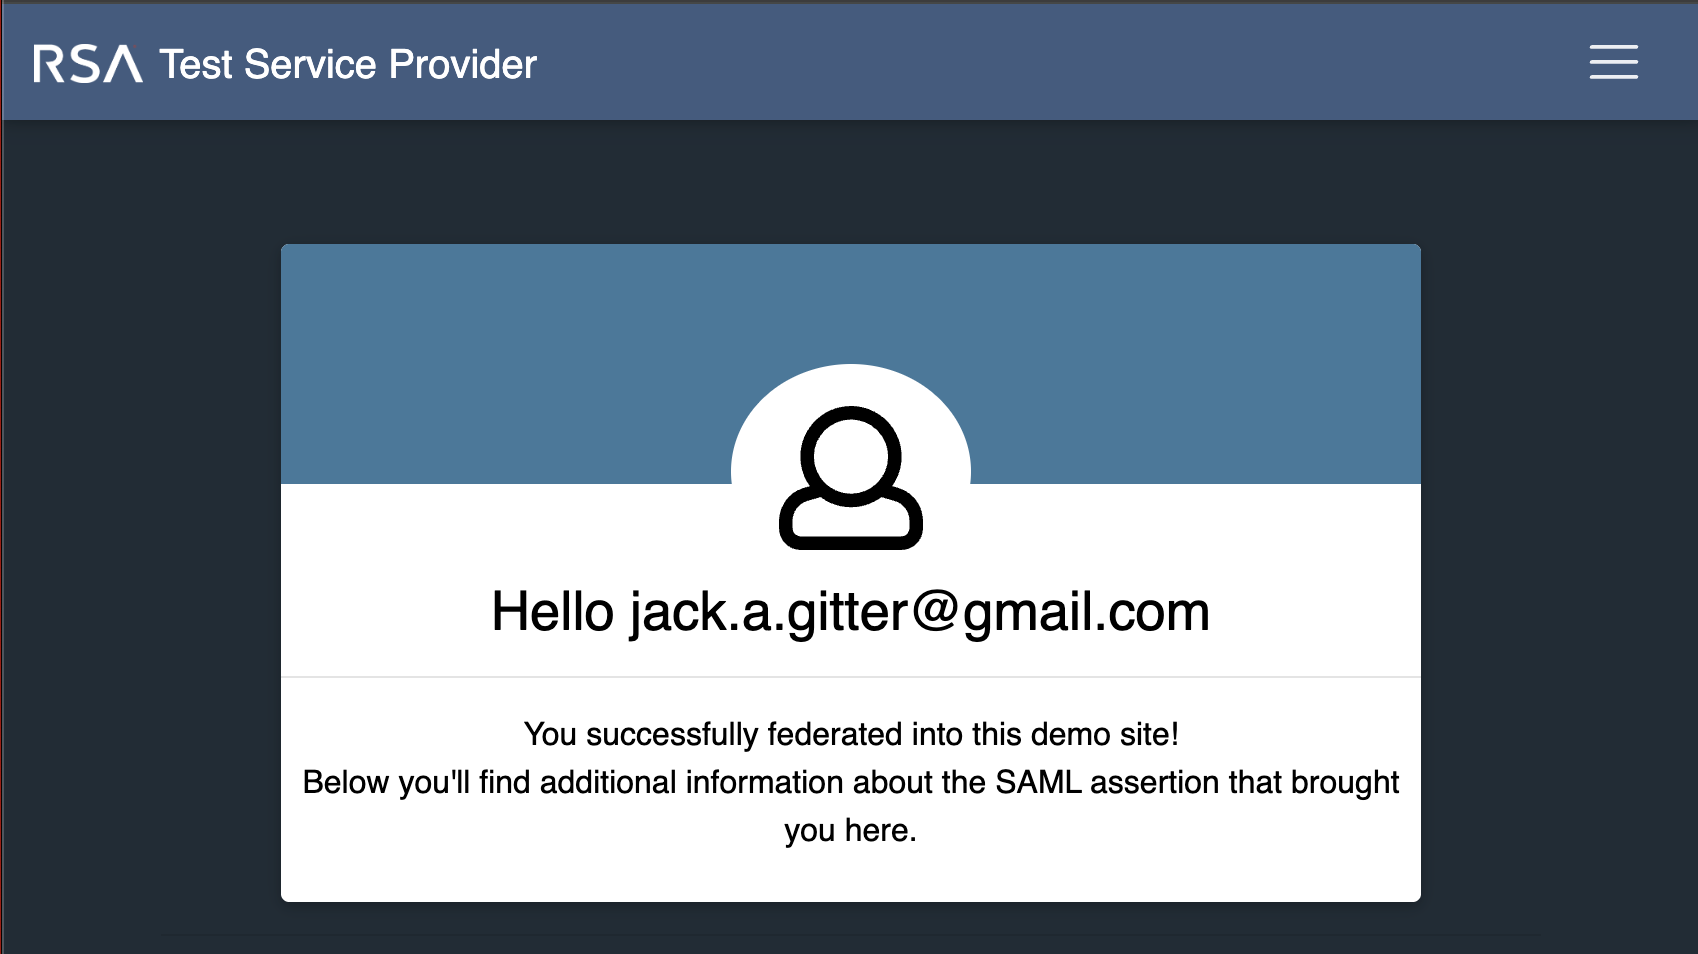
Service provider home screen after login via IDP
IDP initated custom SAML response format example
Most SPs are going to require extra information about the user, or other specifics surrounding the authentication that is not included by default from samilfy. In these instances, samlify allows for IDPs to provide custom XML template for SAML responses. This is the template used in the following example
<samlp:Response xmlns:samlp="urn:oasis:names:tc:SAML:2.0:protocol" xmlns:saml="urn:oasis:names:tc:SAML:2.0:assertion" ID="{ID}" Version="2.0" IssueInstant="{IssueInstant}" Destination="{Destination}" InResponseTo="">
	<saml:Issuer>{Issuer}</saml:Issuer>
  <samlp:Status>
    <samlp:StatusCode Value="urn:oasis:names:tc:SAML:2.0:status:Success"/>
  </samlp:Status>
  <saml:Assertion xmlns:xsi="http://www.w3.org/2001/XMLSchema-instance" xmlns:xs="http://www.w3.org/2001/XMLSchema" ID="{AssertionID}" Version="2.0" IssueInstant="{IssueInstant}">
	  <saml:Issuer>{Issuer}</saml:Issuer>
    <saml:Subject>
		<saml:NameID Format="{NameIDFormat}">{NameID}</saml:NameID>
      <saml:SubjectConfirmation Method="urn:oasis:names:tc:SAML:2.0:cm:bearer">
		  <saml:SubjectConfirmationData NotOnOrAfter="2024-01-18T06:21:48Z" Recipient="{Recipient}" InResponseTo=""/>
      </saml:SubjectConfirmation>
    </saml:Subject>
	<saml:Conditions NotBefore="{NotBefore}" NotOnOrAfter="{NotOnOrAfter}">
      <saml:AudienceRestriction>
        <saml:Audience>{AudienceURI}</saml:Audience>
      </saml:AudienceRestriction>
    </saml:Conditions>
	<saml:AuthnStatement AuthnInstant="{AuthnInstant}" SessionNotOnOrAfter="{NotOnOrAfter}" SessionIndex="{SessionIndex}">
      <saml:AuthnContext>
        <saml:AuthnContextClassRef>urn:oasis:names:tc:SAML:2.0:ac:classes:Password</saml:AuthnContextClassRef>
      </saml:AuthnContext>
    </saml:AuthnStatement>
	<saml:AttributeStatement>
      <saml:Attribute Name="Name" NameFormat="urn:oasis:names:tc:SAML:2.0:attrname-format:basic">
		  <saml:AttributeValue xsi:type="xs:string">{Name}</saml:AttributeValue>
      </saml:Attribute>
      <saml:Attribute Name="Email" NameFormat="urn:oasis:names:tc:SAML:2.0:attrname-format:basic">
		  <saml:AttributeValue xsi:type="xs:string">{Email}</saml:AttributeValue>
      </saml:Attribute>
    </saml:AttributeStatement>
  </saml:Assertion>
</samlp:Response>
Note the variables encased in {}, which are our template placeholders. These will be replaced with information from various sources, such as the IDP
and SP metadata, the incoming HTTP request (in the event of SP initiated SSO), or from user information the IDP has access to after login.
Additionally, there is the inclusion user attributes, an Authn statement, and audience restriction, most of which service providers will require.
The following code demonstrates how the template is used with samlify
export const generateCustomSAMLResponse = async (entityId: string) => {
  const template = readFileSync(`${__dirname}/idp/templates/response.xml`).toString()
  const idp = IdentityProvider({
	metadata: readFileSync(`${__dirname}/idp/metadata.xml`),
	privateKey: readFileSync(`${__dirname}/idp/private-key.pem`),
	loginResponseTemplate: {
		context: template,
		attributes: []
	}
  })

  const sp = ServiceProvider({
	metadata: readFileSync(`${__dirname}/sp/${entityId}/metadata.xml`),
	wantMessageSigned: true
  })

  const request = { extract: { request: { id: undefined } } }

  const user = {
	email: 'jack.gitter@gmail.com',
	name: 'jack',
  }

  const { context, entityEndpoint } = await idp.createLoginResponse(sp, request, Constants.wording.binding.post, user, (template: string) => {
	return createTemplateCallback(idp, sp, user, template)
  })

  return { context, entityEndpoint, relayState: 'light-blue' }
}


const createTemplateCallback = (idp: any, sp: any, user: any, template: string) => {
    const acsUrl = sp.entityMeta.getAssertionConsumerService(Constants.wording.binding.post)

    const nameIDFormat = idp.entitySetting.nameIDFormat
    const selectedNameIDFormat = Array.isArray(nameIDFormat) ? nameIDFormat[0] : nameIDFormat

    const id = `_${randomUUID()}`
    const now = new Date()
    const fiveMinutesLater = addMinutes(now, 5)

    const assertionId = `_${randomUUID()}`
	const sessionIndex = randomUUID()

    const tagValues = {
		ID: id,
		IssueInstant: now.toISOString(),
		Destination: acsUrl,
		Issuer: idp.entityMeta.getEntityID(),
		AssertionID: assertionId,
		NameIDFormat: selectedNameIDFormat,
		NameID: user.email,
		Recipient: acsUrl,
		NotBefore: now.toISOString(),
		NotOnOrAfter: fiveMinutesLater.toISOString(),
		AuthnInstant: now.toISOString(),
		SessionIndex: sessionIndex,
		Name: user.name,
		Email: user.email,
		AudienceURI: acsUrl
          }

    return {
        id,
        context: SamlLib.replaceTagsByValue(template, tagValues)
    }
}
The code is fairly similar, and the core principals remain the same. The IDP is supplied the typical metadata information, although we now include
the custom template. Additionally the wantMessageSigned variable is set, to demonstrate more capabilities of the library. This means samlify
will sign both the message and the assertion automatically. Once again, a mock SAML request is utilized. One more difference in this example is
the inclusion of a mock user, something that could represent a database entity stored at the IDP. We supply all of the same parameters, with the addition
of one new one: a function which takes in our template, and should return the final SAML response.
We then are able to the callback function in order to replace the placeholders within the template with
information coming from the metadata, user object, and other sources. After logging in via the "custom sso" button in the UI,
more data is visible at the service provider

Authn Information that was included in the SAML Response

User attributes that were included in the custom SAML Response

Other details, not audience tag
SP initiated SSO example
Service provider initiated SSO is a bit more involved. The journey starts at the service provider. For IAMShowcase, they allow you to register IDP metadata, and they generate a URL which will redirect to your IDPs single sign on service endpoint, as listed in the XML. For this instance, that is<md:SingleSignOnService Binding="urn:oasis:names:tc:SAML:2.0:bindings:HTTP-Redirect" Location="http://localhost:3000/saml/auth"/>The link generated by IAmShowcase is arbitrary, and only for testing purposes:
https://sptest.iamshowcase.com/ixs?idp=2bf0fa1d7db9ecd60b2c436978513d3c1c5536a8After clicking this link, IAmShowcase sends an SAML request to our local service, using the redirect binding
http://localhost:3000/saml/auth?SAMLRequest=fZFRT4MwFIX%2FStP3ja4D3ZpBgi5Gki0uA33wrSsXIYEWe4v68y1sJvNlj809557v3G5Qdm0v0sHV%2BgifA6AjP12rUUyDmA5WCyOxQaFlByicEnm63wk%2BZ6K3xhllWnplue2QiGBdYzQlT8YqmHJjWskWgRKSbWMqI1YxtYSQlSu1Ljmv1lCyu4pxqMJwpU5yeb%2FmFXh9hjhAptFJ7WLKGY9mi8WMhwVngkUi4u%2BUbH2jRssxM6a1c70IgtYo2dYGnVgyxoIRO5CehJL0j%2B%2FRaBw6sDnYr0bB63F3dqO3Y%2B%2F80nkjO6zNt5IIc2W6QCr0FQ6Xmzw0umz0x%2B1znM4iFM9FcZgdXvLCbyBvYHHC9RKabEY8MVW1JMnSfX4J3QRXk%2BT8%2Bv%2BTyS8%3DThe code to handle this request is below
export const parseSpInitiatedLoginRequest = async (req: any, entityId: string) => {
  const idp = IdentityProvider({
    metadata: readFileSync(`${__dirname}/idp/metadata.xml`),
    privateKey: readFileSync(`${__dirname}/idp/private-key.pem`),
    wantAuthnRequestsSigned: false,
  })

  const sp = ServiceProvider({
    metadata: readFileSync(`${__dirname}/sp/${entityId}/metadata.xml`),
    authnRequestsSigned: false
  })

  const {extract} = await idp.parseLoginRequest(sp, 'redirect', req)
  return {issuer: extract.issuer, id: extract.request.id}
}


const generateSignature = (...fields: string[]) => {
  const payload = JSON.stringify(fields);
  const signature = crypto.createHmac('sha256', 'secret').update(payload).digest('hex');
  return signature
}

app.get('/saml/auth', async (req: Request, res: Response) => {
  const {issuer, id} = await parseSpInitiatedLoginRequest(req, ENTITY_ID.I_AM_SHOWCASE)
  const signature = generateSignature(issuer, id)
  res.cookie('signature', signature, {sameSite: 'strict', httpOnly: true})
  res.cookie('issuer', issuer, {sameSite: 'strict', httpOnly: true})
  res.cookie('id', id, {sameSite: 'strict', httpOnly: true})
  res.redirect('/login')
})
First, we create the IDP and SP object as usual.
The idp.parseLoginRequest method can be used to parse the authentication request that the SP sent.
The main information from this request that is useful is the issuer, and the request ID. Utilizing those two values a signature is created,
and all three are set as cookies. The user is then redirected to the IDP login page.
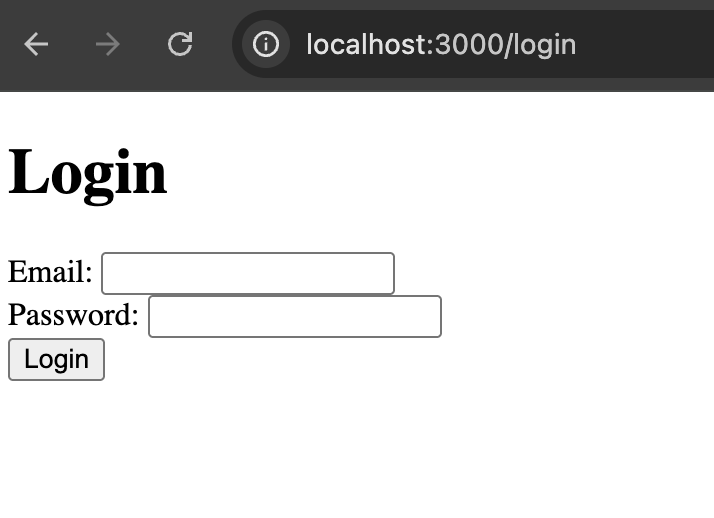
Super advanced login page
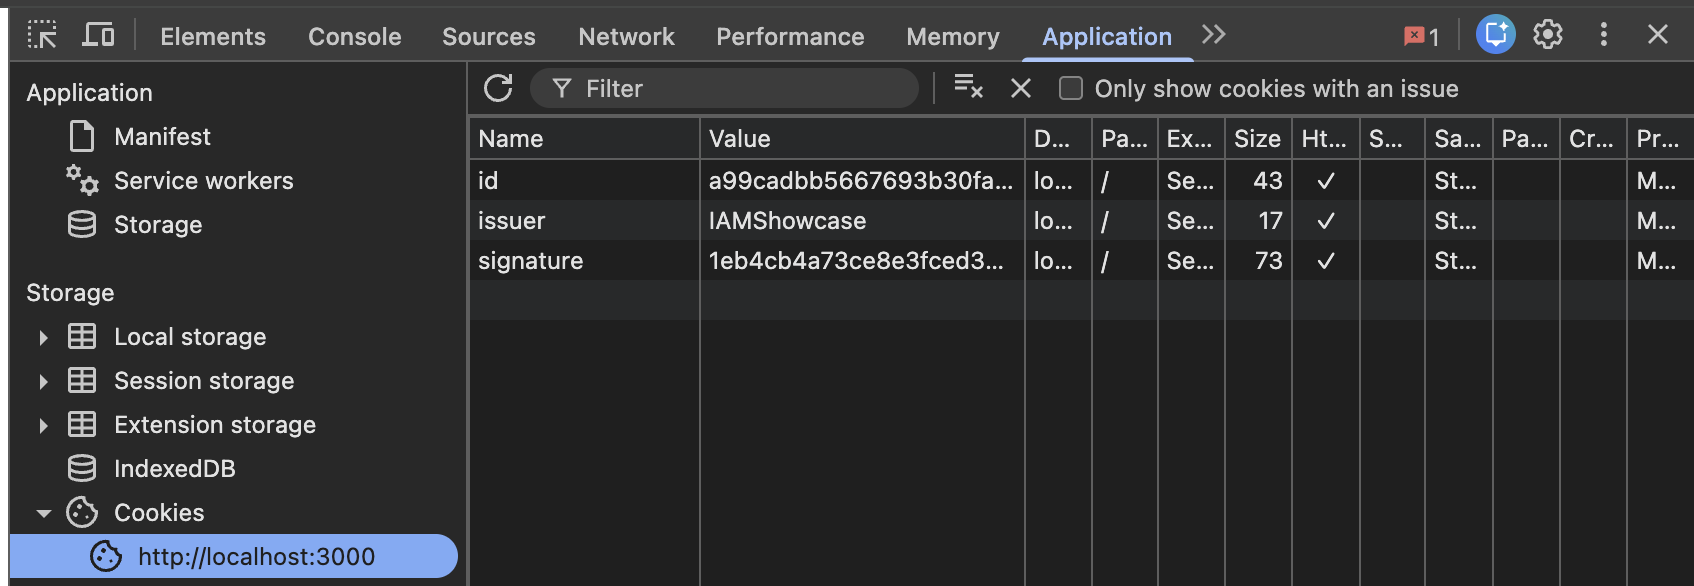
Cookies set by backend
export const generateSpInitiatedSAMLResponse  = async (email: string, issuer: string, id: string) => {
  const idp = IdentityProvider({
	metadata: readFileSync(`${__dirname}/idp/metadata.xml`),
	privateKey: readFileSync(`${__dirname}/idp/private-key.pem`)
  })

  const sp = ServiceProvider({
	metadata: readFileSync(`${__dirname}/sp/${issuer}/metadata.xml`),
  })

  const request = { extract: { request: { id } } }

  const { context, entityEndpoint } = await idp.createLoginResponse(sp, request, Constants.wording.binding.post, {email})

  return { context, entityEndpoint, relayState: 'light-blue' }

}

app.post('/login', async (req: Request, res: Response) => {
  const email = req.body.email
  const issuer = req.cookies.issuer
  const id = req.cookies.id
  const signature = req.cookies.signature
  const expectedSignature = generateSignature(issuer, id)
  if (signature !== expectedSignature) {
	res.status(403).send()
	return
  }
  const resp = await generateSpInitiatedSAMLResponse(email, issuer, id)
  res.send(resp)
})
This code is practically the same as the basic SAML response demonstration, with two major differences. Firstly, it utilizes the cookie values
to create a signature and check it against the cookie signature value, to ensure no end user tampering occurred with the SAML request information.
Additionally it uses the email entered in the login form to generate the SAML response information. In a real production instance,
user information would be taken from the database after login. After the server responds, the frontend is able to utilize the information to
send the SAML response to the service provider.
<script>
  const form = document.getElementById('loginForm');
  form.addEventListener('submit', async (e) => {
    e.preventDefault();
    const res = await fetch('http://localhost:3000/login', {
      method: 'POST',
      headers: { 'Content-Type': 'application/json' },
      body: JSON.stringify({
        email: form.email.value,
        password: form.password.value
      })
    });
    if (res.status === 403) {
      window.location.href = 'http://localhost:3000/error';
      return;
    }
    const { context, entityEndpoint, relayState } = await res.json();
    const samlForm = document.createElement('form');
    samlForm.method = 'POST';
    samlForm.action = entityEndpoint;
    const samlInput = document.createElement('input');
    samlInput.type = 'hidden';
    samlInput.name = 'SAMLResponse';
    samlInput.value = context;
    samlForm.appendChild(samlInput);
    if (relayState) {
      const relayInput = document.createElement('input');
      relayInput.type = 'hidden';
      relayInput.name = 'RelayState';
      relayInput.value = relayState;
      samlForm.appendChild(relayInput);
    }
    document.body.appendChild(samlForm);
    samlForm.submit();
  });
</script>
After this, the user is logged into the service provider as seen in prior examples.